Subnautica 2 Shiver Leviathan overview
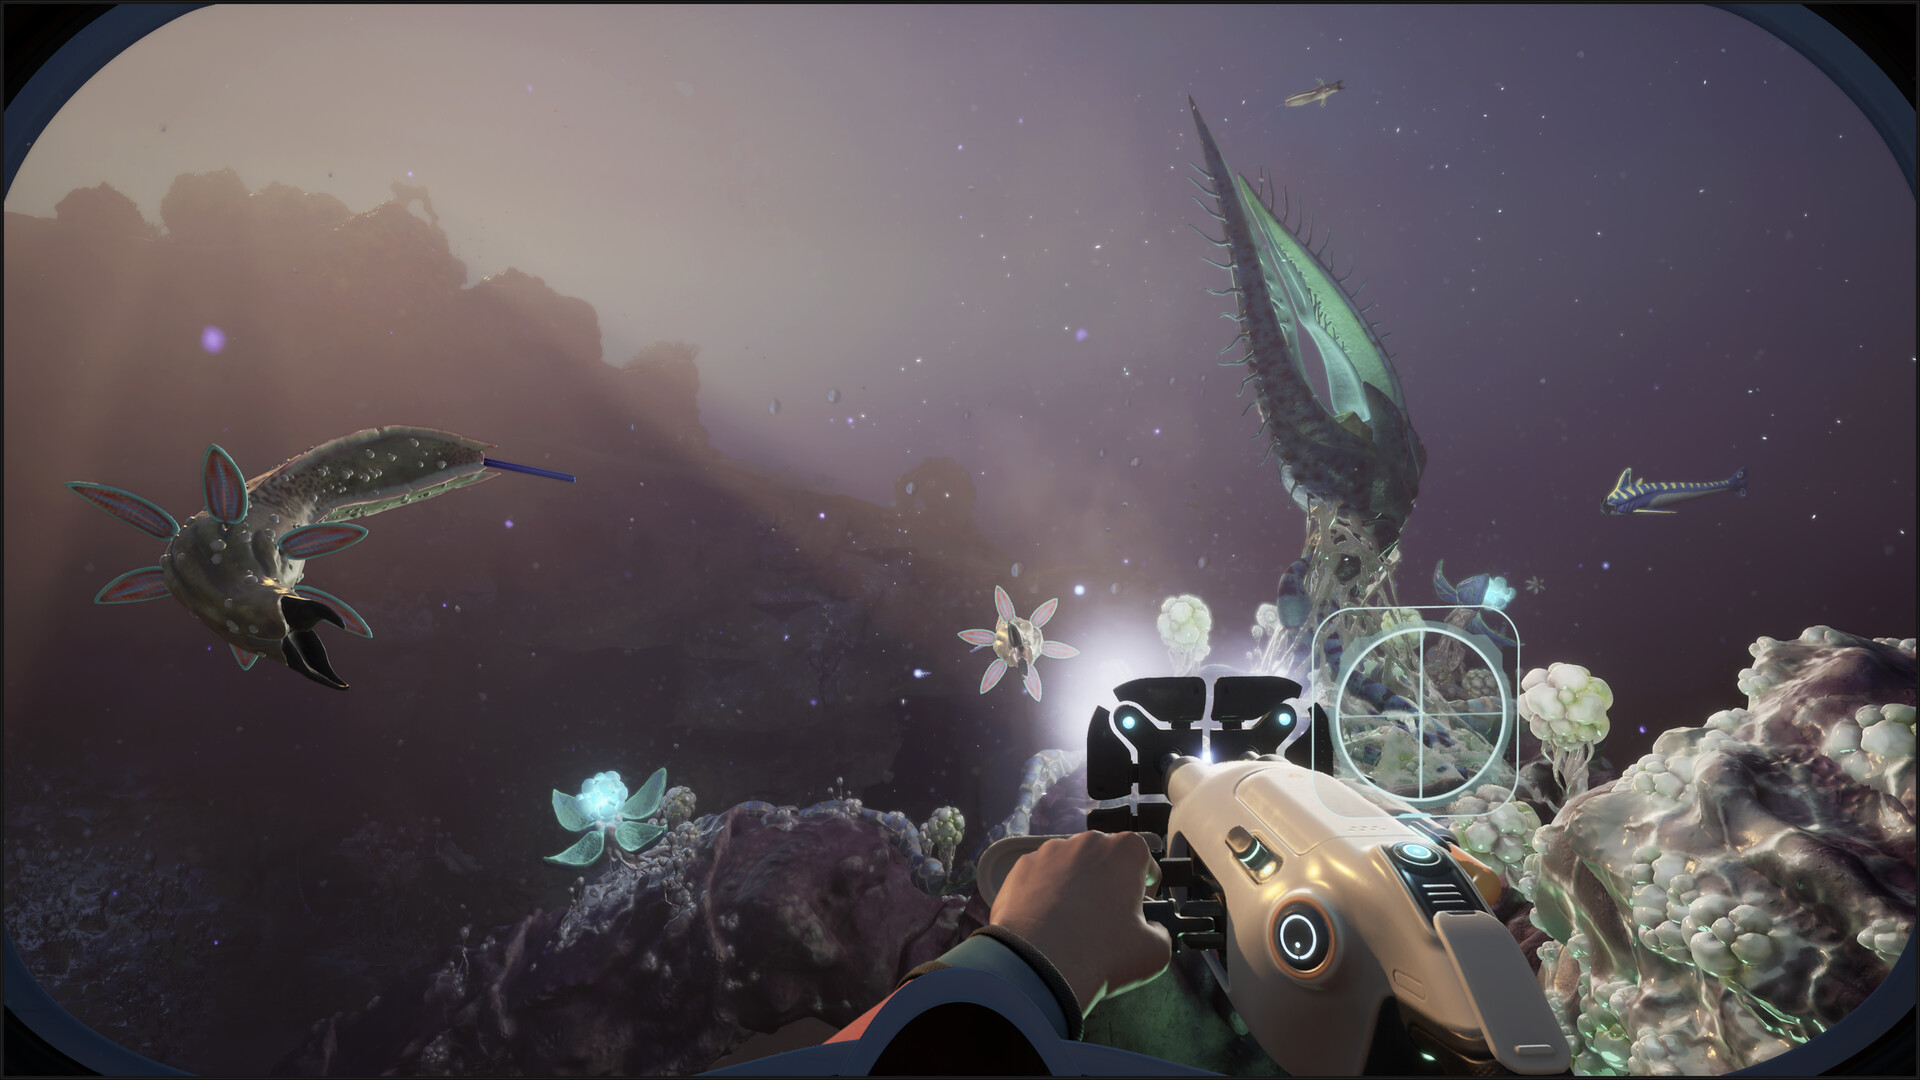
Subnautica 2 Shiver Leviathan searches usually mean one of three things: players want to know where it appears, how dangerous it is, or whether they can scan it safely. The safe Early Access answer is to treat the Shiver Leviathan as a route hazard first and a scan target second. Learn the warning signs, keep a clean return path, and do not turn a first encounter into a lost vehicle or abandoned inventory.
Exact spawns, hazard density, and route value can shift during Early Access. Treat this as a scouting method rather than a permanent coordinate sheet.
Where to expect the Shiver Leviathan
Do not search for the Shiver Leviathan by swimming blindly into deep water. Look for it while following deep-biome progression, Blackbox signals, or vehicle-supported scouting routes. If a route starts feeling like a leviathan area, slow down and map exits before pushing farther.
Good search habits:
- Scout from a known landmark instead of a random direction.
- Bring enough oxygen margin to leave without panic.
- Use a vehicle only if you know where you can park and return.
- Mark the edge of the route, not the danger itself.
- Leave after confirming the encounter; return later for scans.
How to survive a Shiver Leviathan encounter
The goal of the first encounter is information, not bravery.
| Situation | Best response | | --- | --- | --- | | You hear or see leviathan warning signs | Stop advancing and identify your exit. | | The creature is between you and the objective | Delay the objective and return with better support. | | You are low on oxygen | Leave immediately; do not scan or gather. | | Your vehicle is exposed | Move it to a clearer landmark or retreat. | | Co-op teammate wants to chase it | Regroup first and assign roles. |
The Shiver Leviathan should change the route plan. If it appears near a farming route or signal path, add a safer waypoint, move the approach angle, or delay the route until you have better vehicle support.
How to scan the Shiver Leviathan safely
Scanning should happen only after you understand the area. A scan attempt without an exit is just a rescue problem.
Use this staged method:
- First trip: locate the route edge and leave.
- Second trip: watch movement and identify a safe retreat line.
- Third trip: scan only if oxygen, tool charge, and escape route are stable.
- Co-op scan: one player scans, one watches the creature, one watches the return route.
- Abort if the creature turns the route into a chase.
If the scan fails, do not immediately repeat it from the same angle. Change the approach or wait until you have better mobility.
Route prep before leviathan areas
Before pushing into a likely Shiver Leviathan area, check:
- Oxygen margin and turn-back rule.
- Scanner charge and tool slot order.
- Vehicle repair, power, and parking plan.
- Beacon or landmark names.
- Empty inventory space in case you need to retreat quickly.
- Co-op return call and regroup point.
Subnautica 2’s Early Access roadmap includes future world, biome, creature, resource, tool, vehicle, and story expansions. That means leviathan routes can change as the game grows. Use the roadmap before trusting older location videos.
Shiver Leviathan FAQ
Where is the Shiver Leviathan in Subnautica 2?
Expect it around deeper, riskier progression routes rather than safe starter loops. Use landmarks and deep-biome route planning instead of chasing exact coordinates from an old patch.
Can you scan the Shiver Leviathan?
Plan as if scanning is possible only when the route is already safe. Bring a full oxygen margin, know the escape path, and do not force the scan on your first encounter.
Should you fight the Shiver Leviathan?
No. Treat it as an avoidance and navigation problem. Subnautica 2 route planning is stronger when you survive, map the area, and return prepared.
What to do next
After using this Shiver Leviathan guide, continue with deep biome progression, deep dive checklist, and Tadpole guide. Those guides connect leviathan avoidance to oxygen, vehicle support, and safer route staging.