Subnautica 2 first hour guide overview
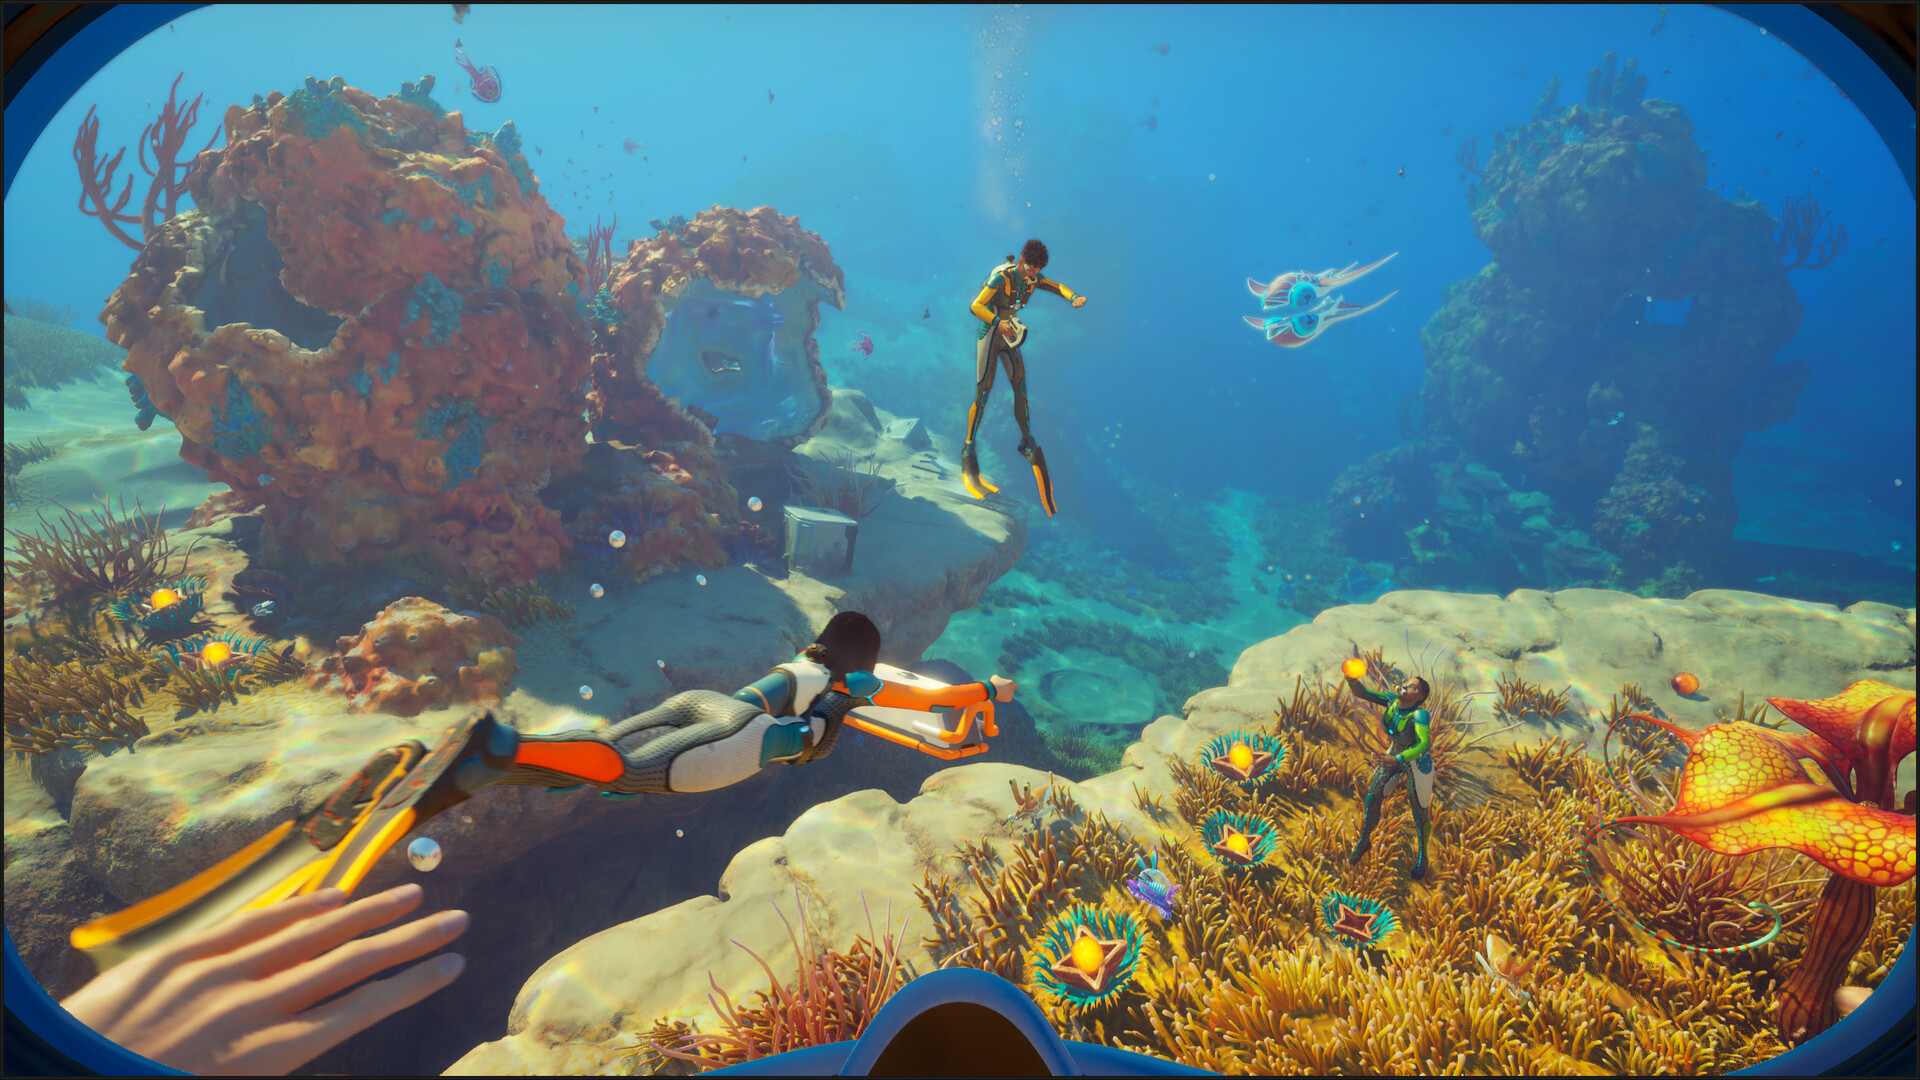
This Subnautica 2 first hour guide keeps the opening simple: make three short dives, craft one useful tool or upgrade, then decide whether your next objective is scanning, base setup, food and water, or a signal route. The first hour is not about clearing the map. It is about building a loop you can repeat without panic.
Because Subnautica 2 is in Early Access, individual recipes and resource pressure can shift. The route below avoids unsupported coordinates and focuses on stable decisions: scan safely, gather with intent, return early, and do not expand until your oxygen and inventory habits are reliable.
The first three dives
| Dive | Objective | Actions | Return rule |
|---|---|---|---|
| 1 | Learn the Lifepod area | Swim a shallow loop, note landmarks, gather a small set of basic materials. | Return while the route still feels obvious. |
| 2 | Start the tool path | Scan safe fragments and collect materials tied to Scanner, Habitat Builder, oxygen, or storage needs. | Return before entering caves or low-visibility branches. |
| 3 | Test a slightly wider route | Check one biome edge, structure, or signal approach without committing to a long push. | Return as soon as the path home becomes hard to describe. |
After each dive, craft or sort before leaving again. A one-minute reset at the Lifepod or base prevents the common first-hour spiral: full inventory, half-remembered landmarks, and one more scan target that costs the run.
What to gather first
Do not collect everything. Prioritize shallow basics that support tools and base setup, especially common construction and electronics materials such as Titanium, Copper, and Quartz. If you pick up a plant or creature part and cannot connect it to food, water, battery, fiber, rubber, or a visible recipe, leave room for known bottlenecks.
Your first storage goal is not hoarding. It is separation. Keep tool materials, base materials, food and water, and unknown samples apart so the next craft is visible.
First-hour crafting order
Use this order unless your world state clearly pushes a different bottleneck:
- Scanner path, because scans unlock blueprints, biological data, and progression clues.
- Oxygen support, because every route becomes easier when the turn-back window is larger.
- Habitat Builder and a minimal base workflow, because power, storage, and Fabricator access shorten every future trip.
- Sonic Resonator or repair utility when the route specifically calls for clearing growths, interacting with systems, or supporting vehicles.
- Tadpole preparation only after your routes and resources can support vehicle construction.
The early tools guide explains when optional tools like Air Bladder, fins, or lighting should move up the order.
Food, water, and route pressure
If survival meters are enabled, the first hour should include a food and water check before every long route. Early food may depend on unlocked recipes, safe fish handling, or Adaptations, and water production should be treated as a craft chain rather than an afterthought. Do not leave on a signal push if you are already low on water; dehydration drains attention faster than distance does.
Oxygen discipline is stricter in caves, under overhangs, near hostile fauna, or around unfamiliar structures. If you are scanning in a tight space, scan one thing and leave. The oxygen management guide has deeper route rules, but the first-hour version is enough: turn back earlier than you think you need to.
First-hour co-op adjustments
Co-op makes scanning and gathering faster, but it also multiplies food and water demand. Give each player one job for the session: route scout, scanner, materials runner, or storage builder. Shared blueprint progress means one safe scan can help everyone, so do not send all players into the same risky cave.
At the end of the hour, call out what was unlocked and what material is still missing. That prevents duplicated crafting and keeps shared storage useful.
What to do next
After the first hour, you should have a repeatable shallow loop, one or two useful tools, a clearer food and water plan, and at least one next route. Continue with Subnautica 2 beginner guide, scanner priorities, and resource locations before pushing deeper.